
Humble Beginnings
While building out a van seems daunting, it can be as simple or as complicated as you want it to be. Some people gut their vehicle, lay down a mattress, and call it good. Others opt for a more luxurious build costing upwards of $50K. It depends on the amount of time, money, and experience you have. When we started building out our vehicle, we knew absolutely nothing about power tools, electricity, and vehicle repairs. The steep learning curve certainly slowed down our build, but we were fortunate to have some excellent mentors along the way (who loaned us their expensive power tools!). However, we still made countless mistakes and spent lots of time cleaning up our messes. All in all, it took us three months of hard work to finish our tiny home on wheels.
Was it worth it?
During the build, we wanted to give up more often than we wanted to continue. Learning every day that you know nothing about construction or cars is unpleasant. Since we built the van together, we had to deal with each other's mistakes too. Overall, the build tested our relationship and was the least fun part of the lifestyle. However, with every challenge comes an opportunity for growth. I feel more competent and prepared for the future because of our van build. For example, I learned how to connect loose wires, jack up cars, change flat tires, replace steering wheels, install solar panels, use power tools, conduct vehicle repairs, insulate small spaces, and repair plumbing systems. I could think of a million other things and none of them would have been possible without our build. The entire process instilled a DIY mindset in me that I never had before. Based on the crazy places I’ve been, the wonderful experiences I’ve had, and the lovely people I’ve met, vanlife is worth it despite the countless struggles. I’ll talk more about the lifestyle later on, but so far it’s been a blast.
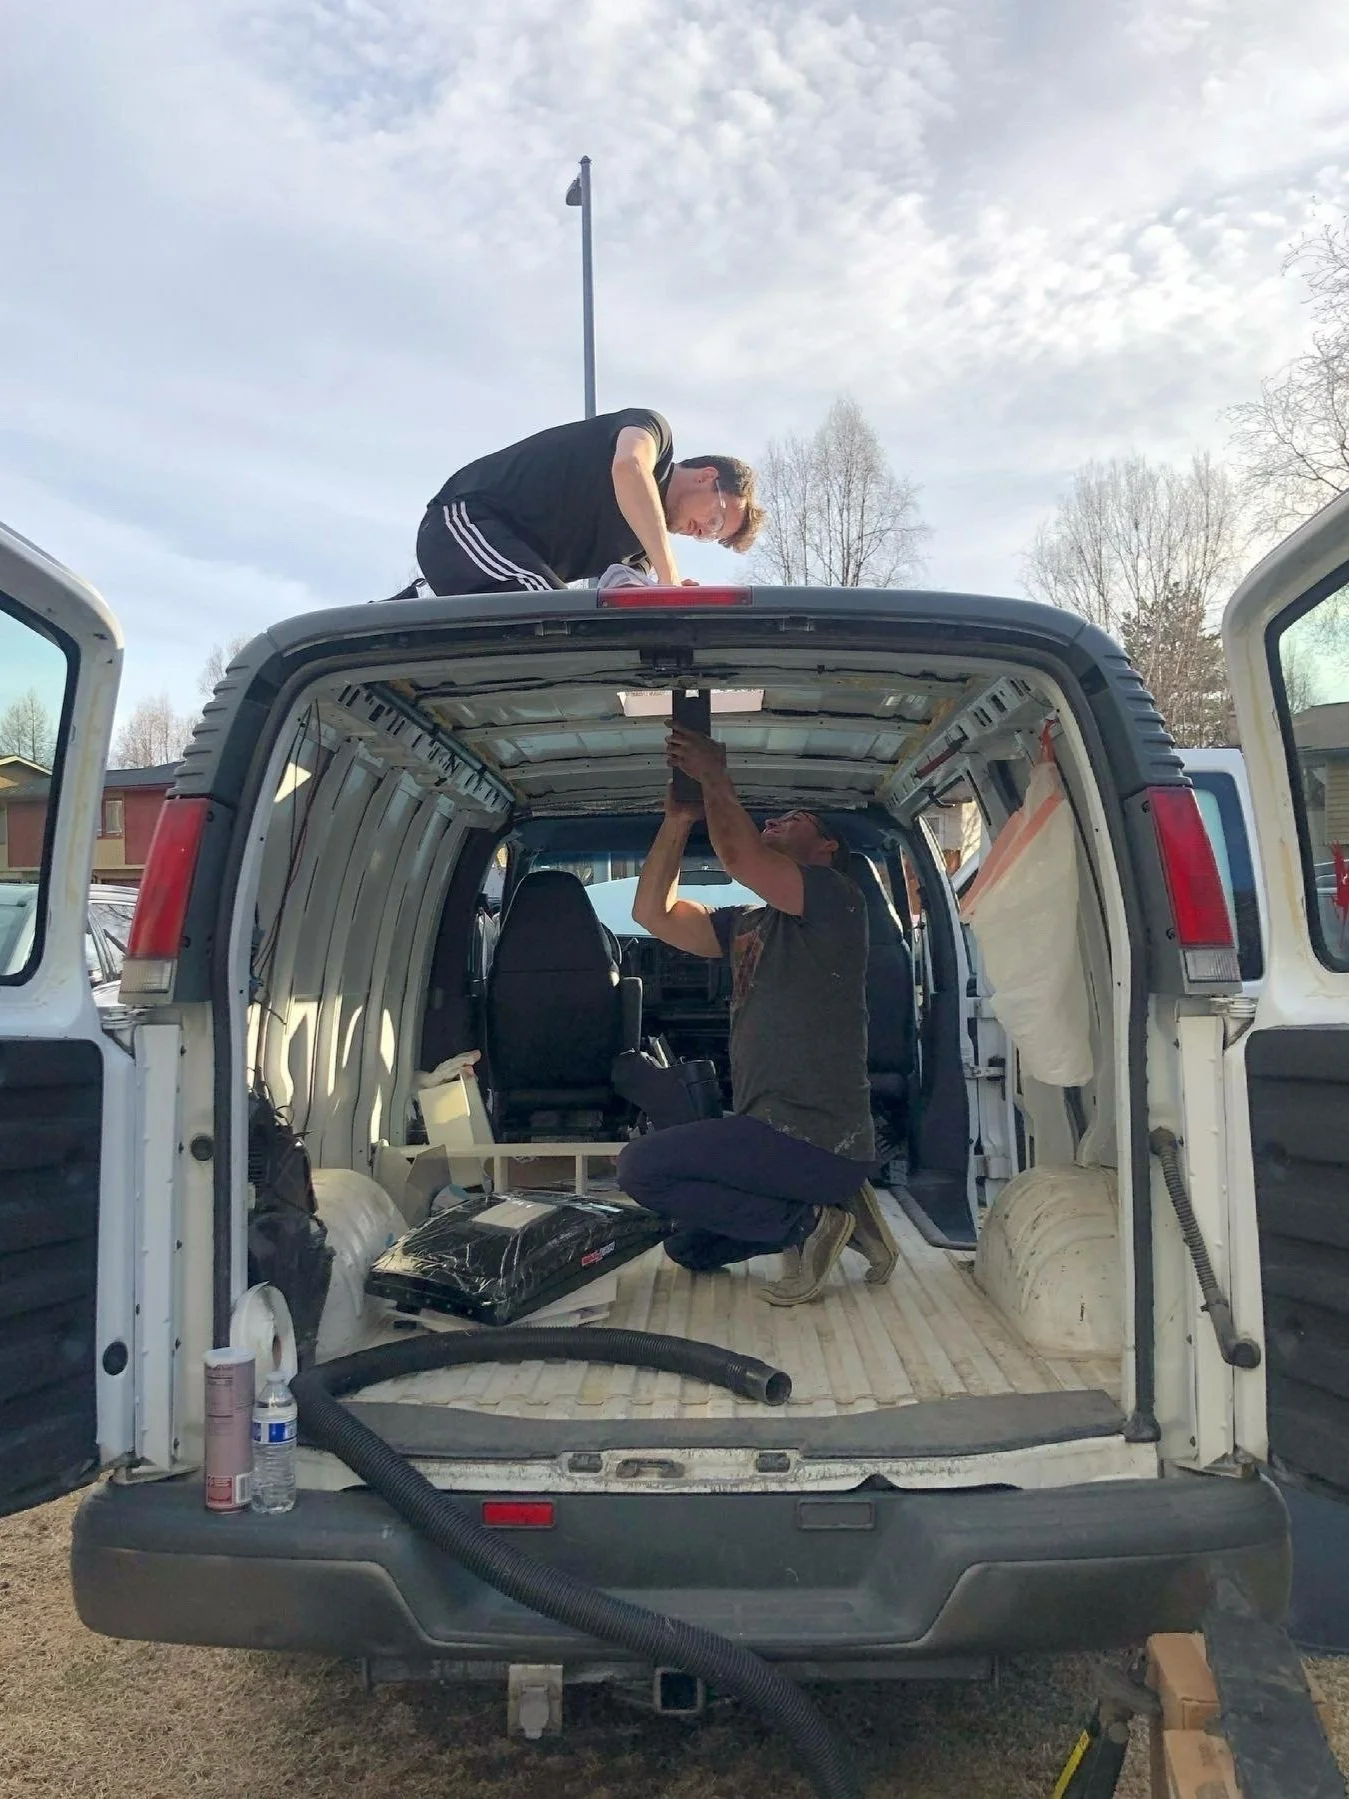
Before making any changes to the van.
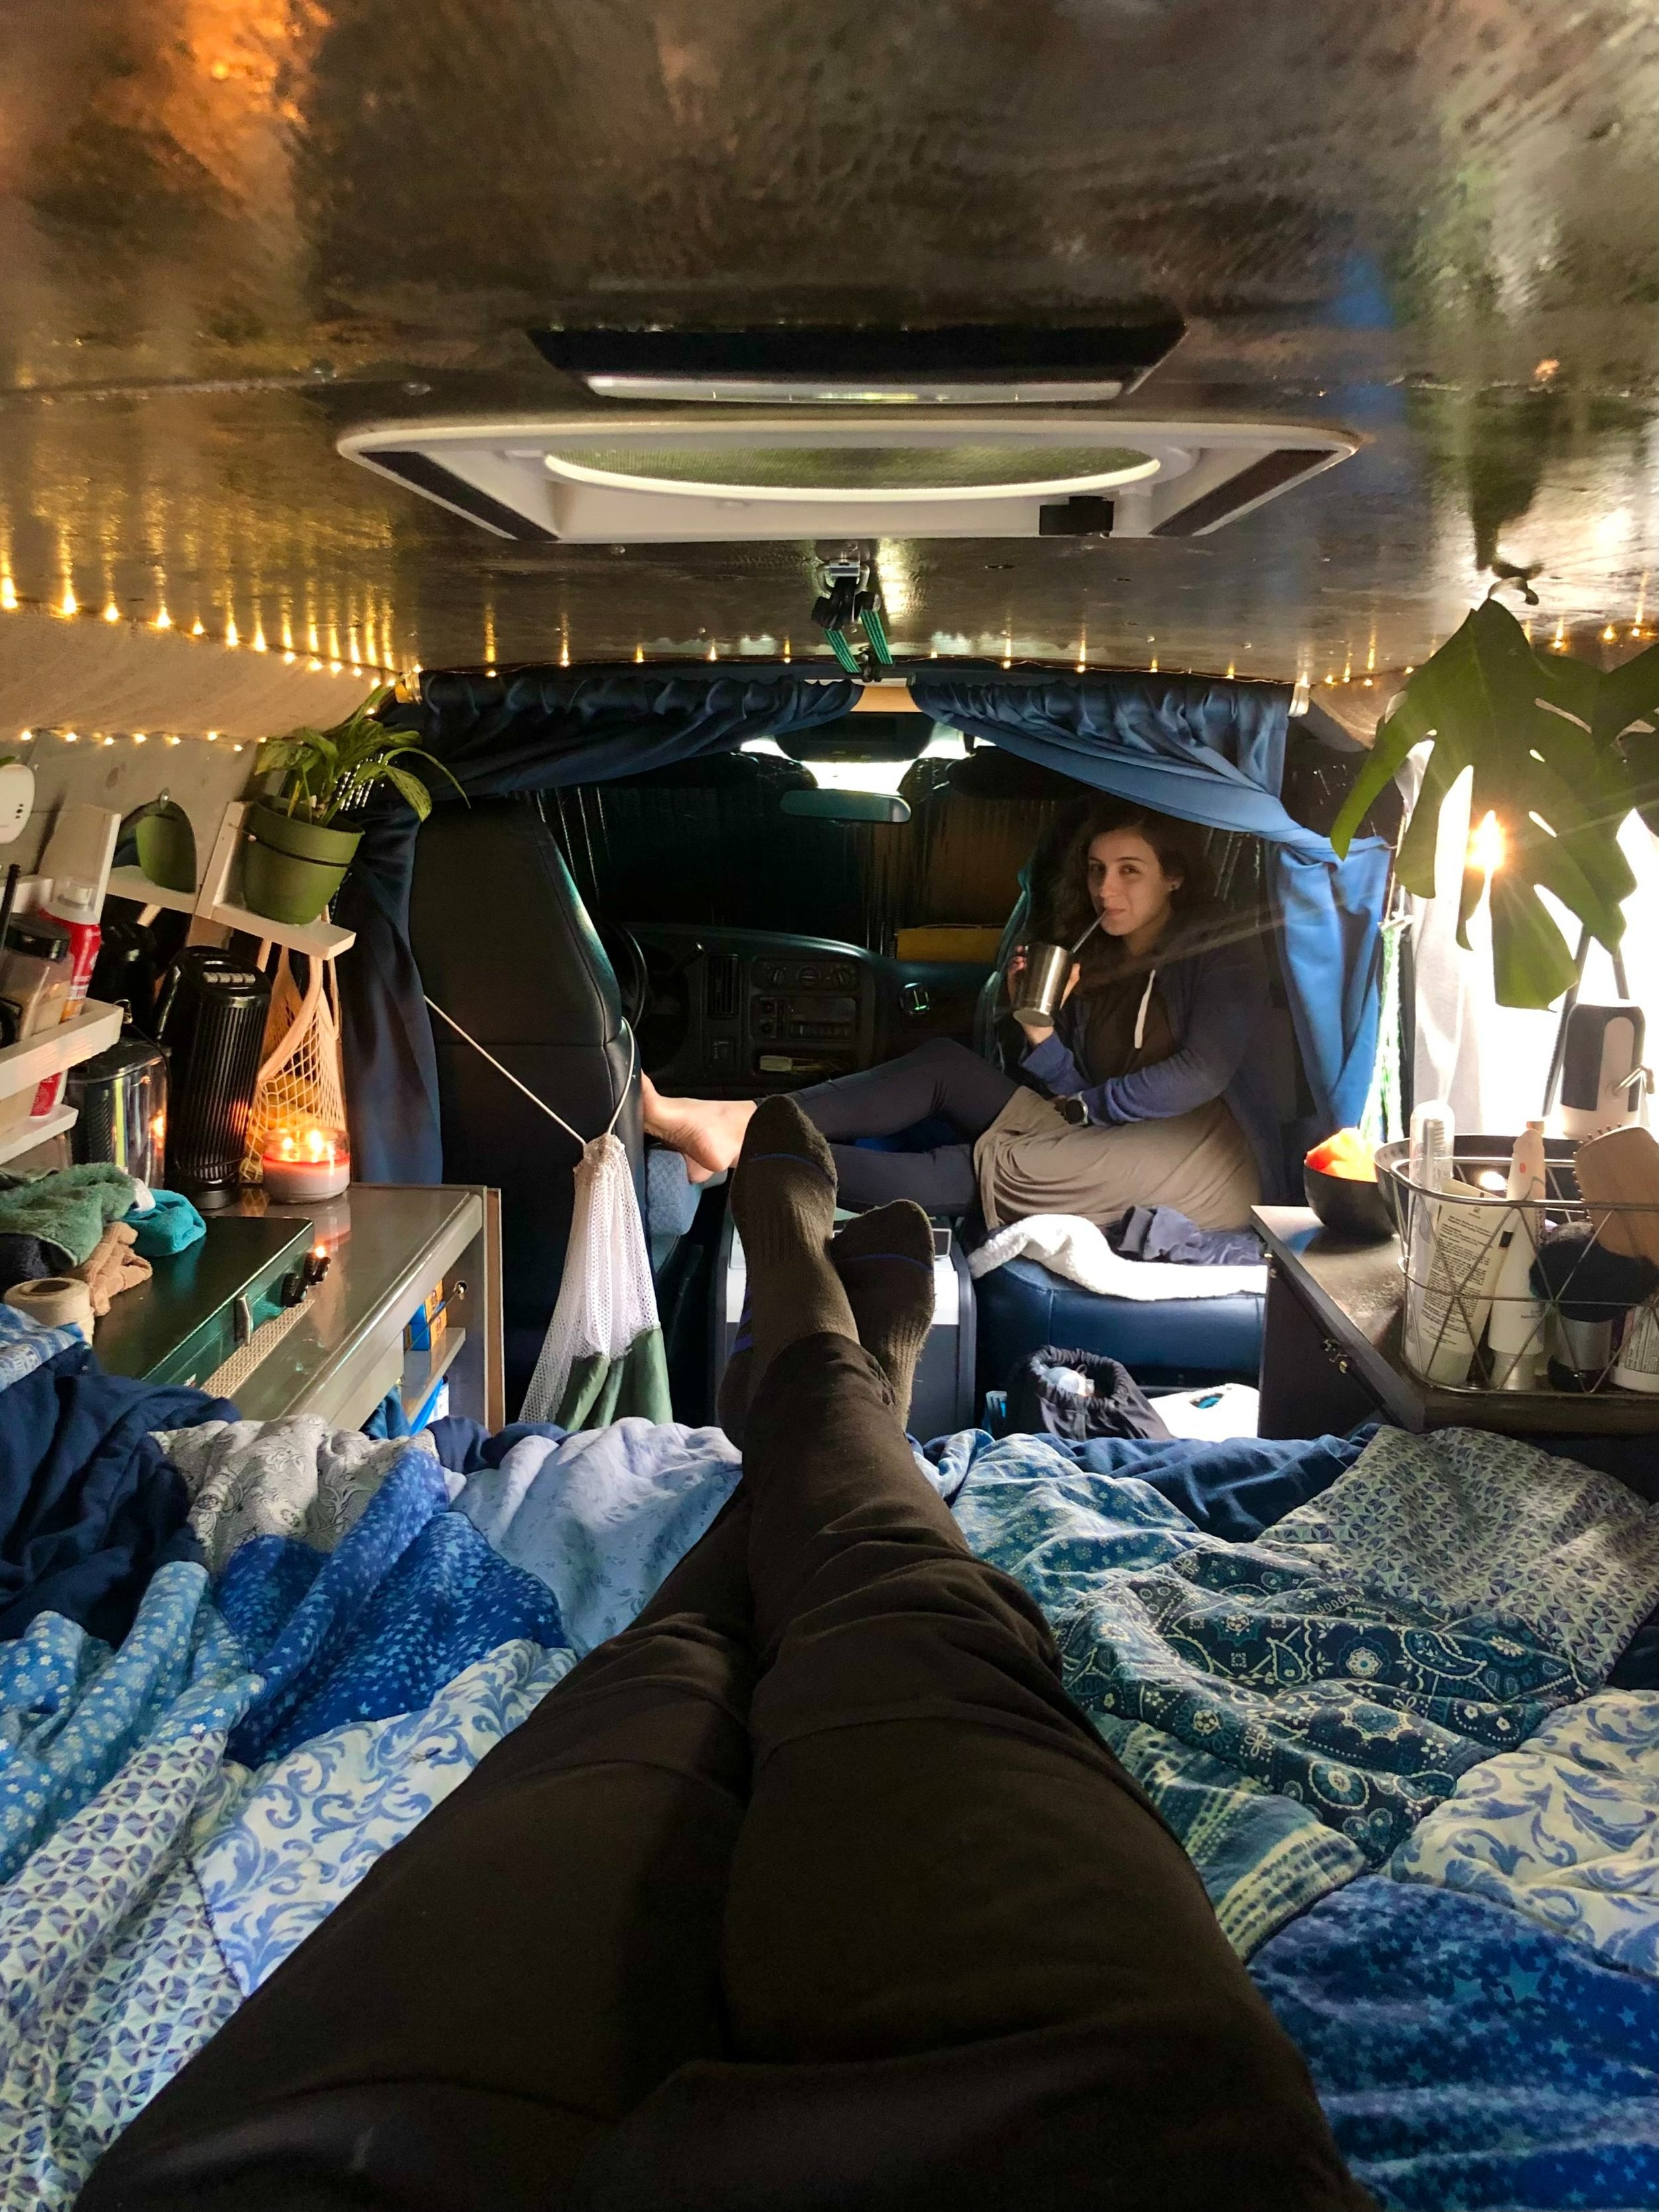
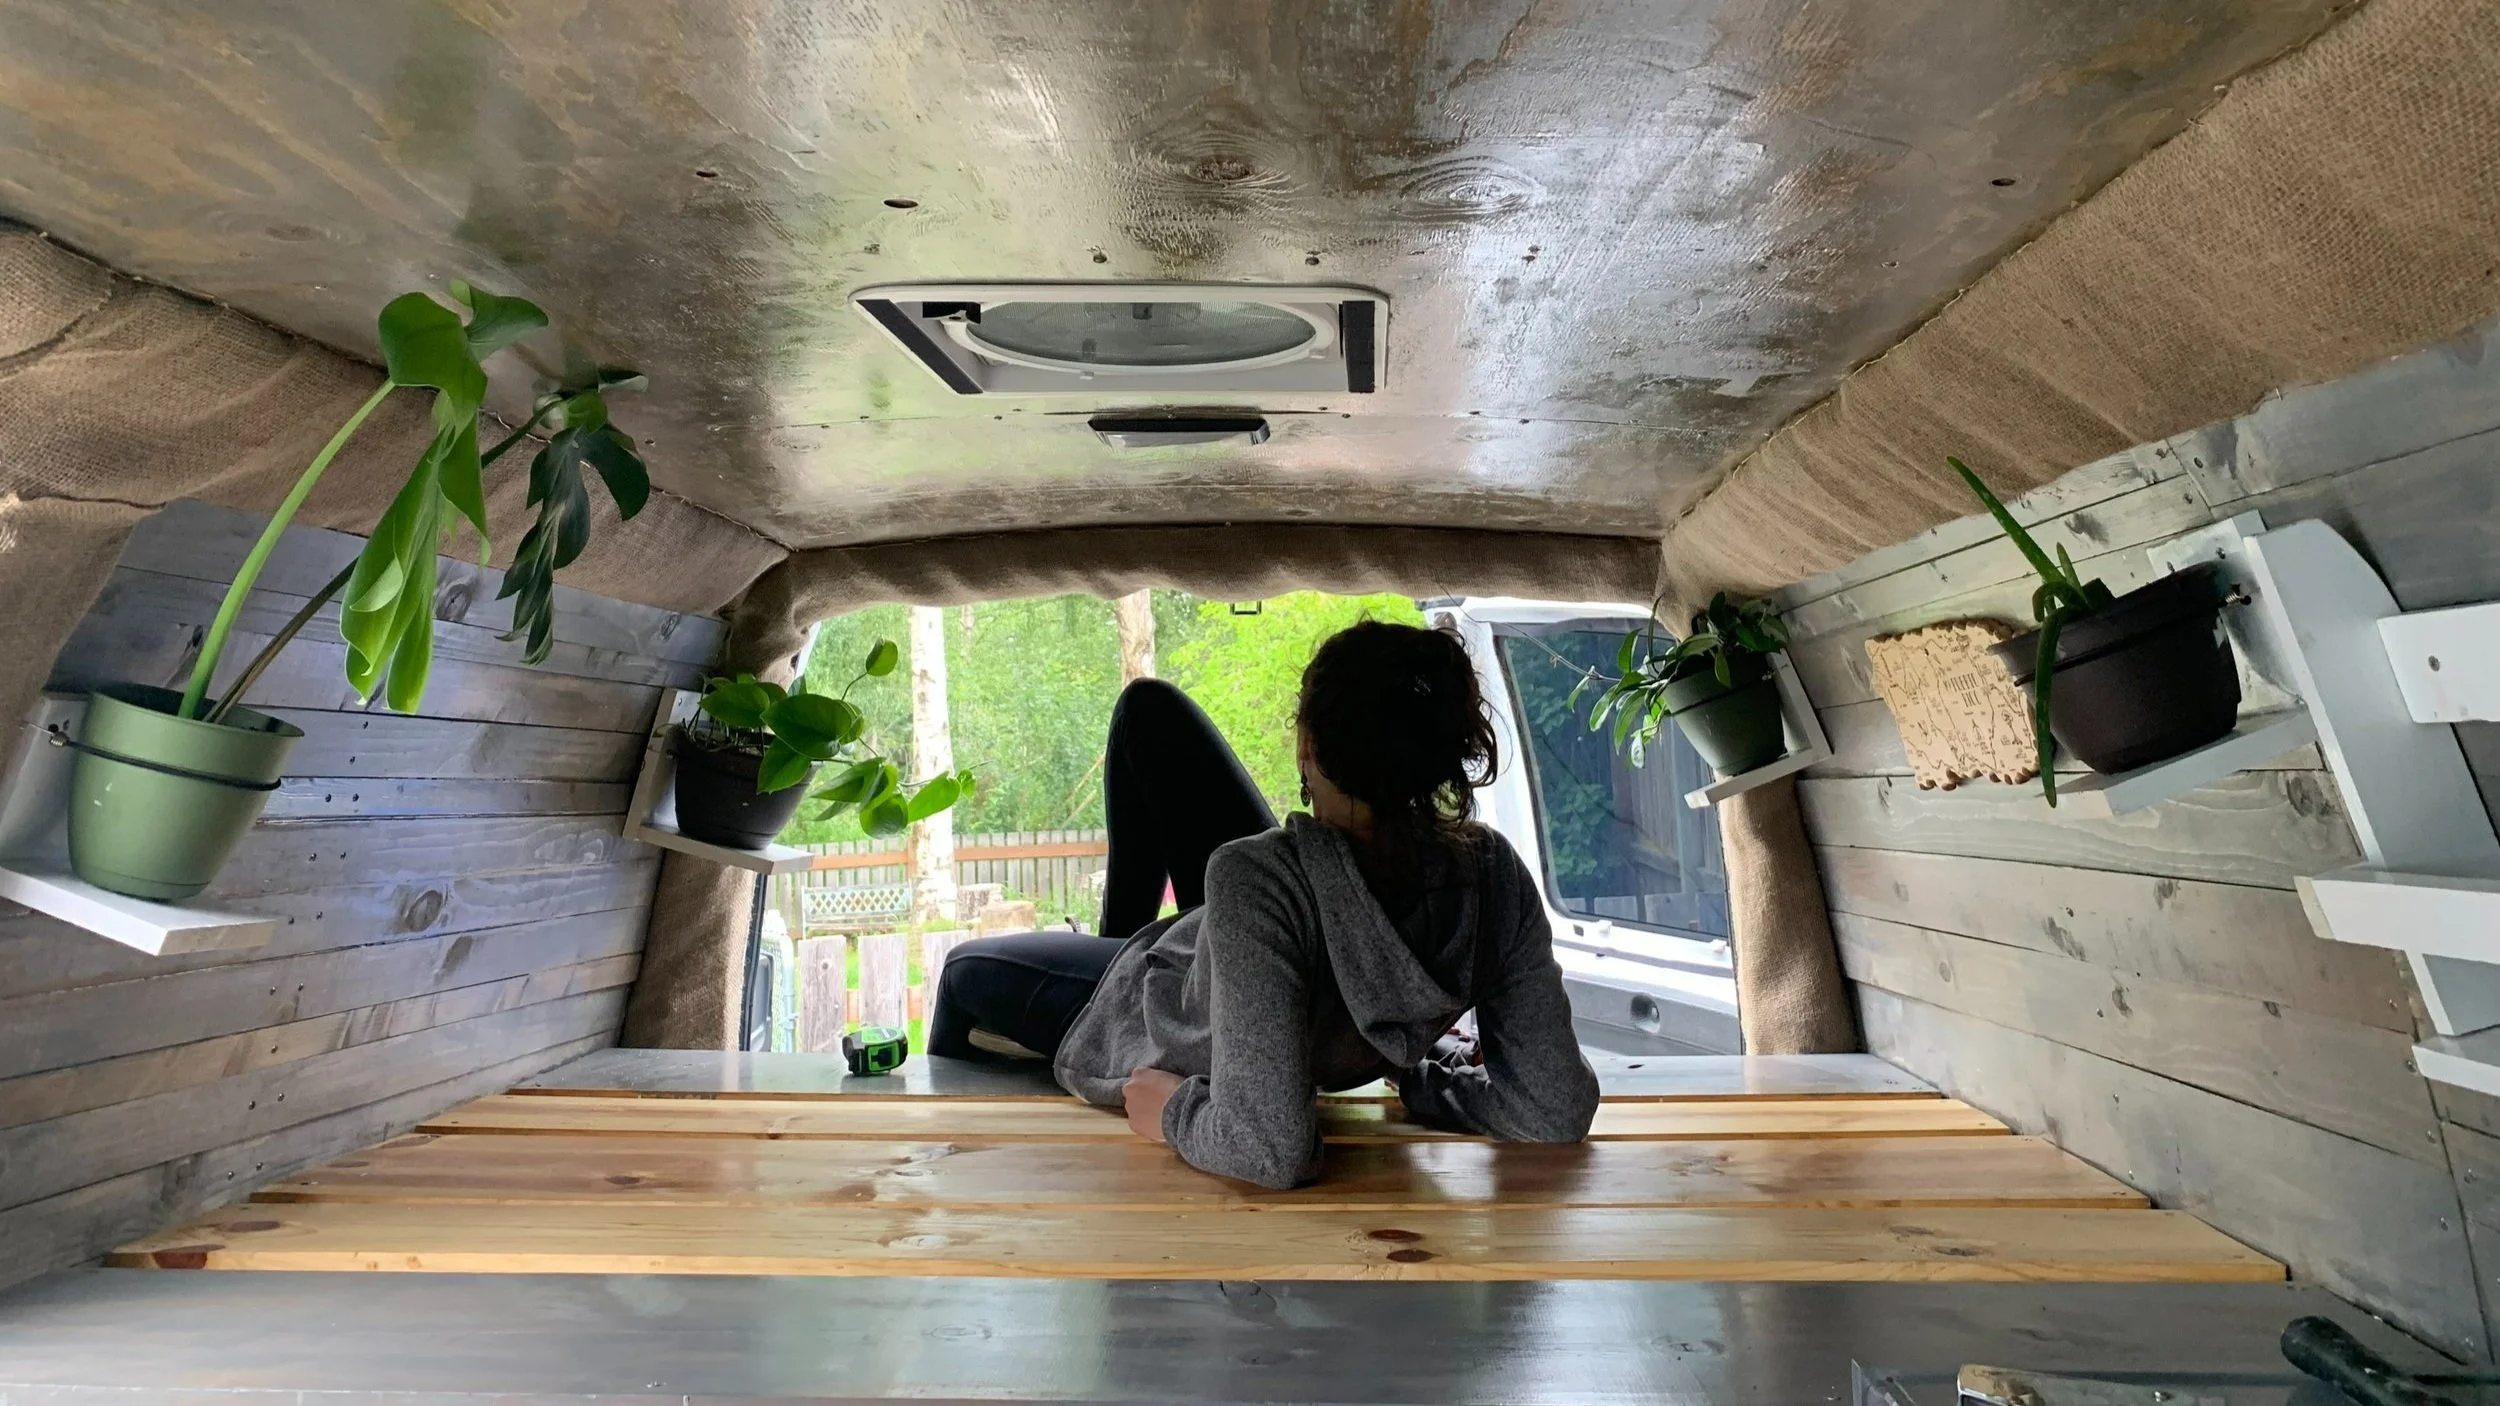
After finishing our van build.
Build Steps
If I haven’t scared you away yet, the steps we followed to build our van are pretty straightforward. Again, some steps will be relevant to your build, and others won’t—there are no wrong answers as long as it works for you. Here’s a simple version of what we did:
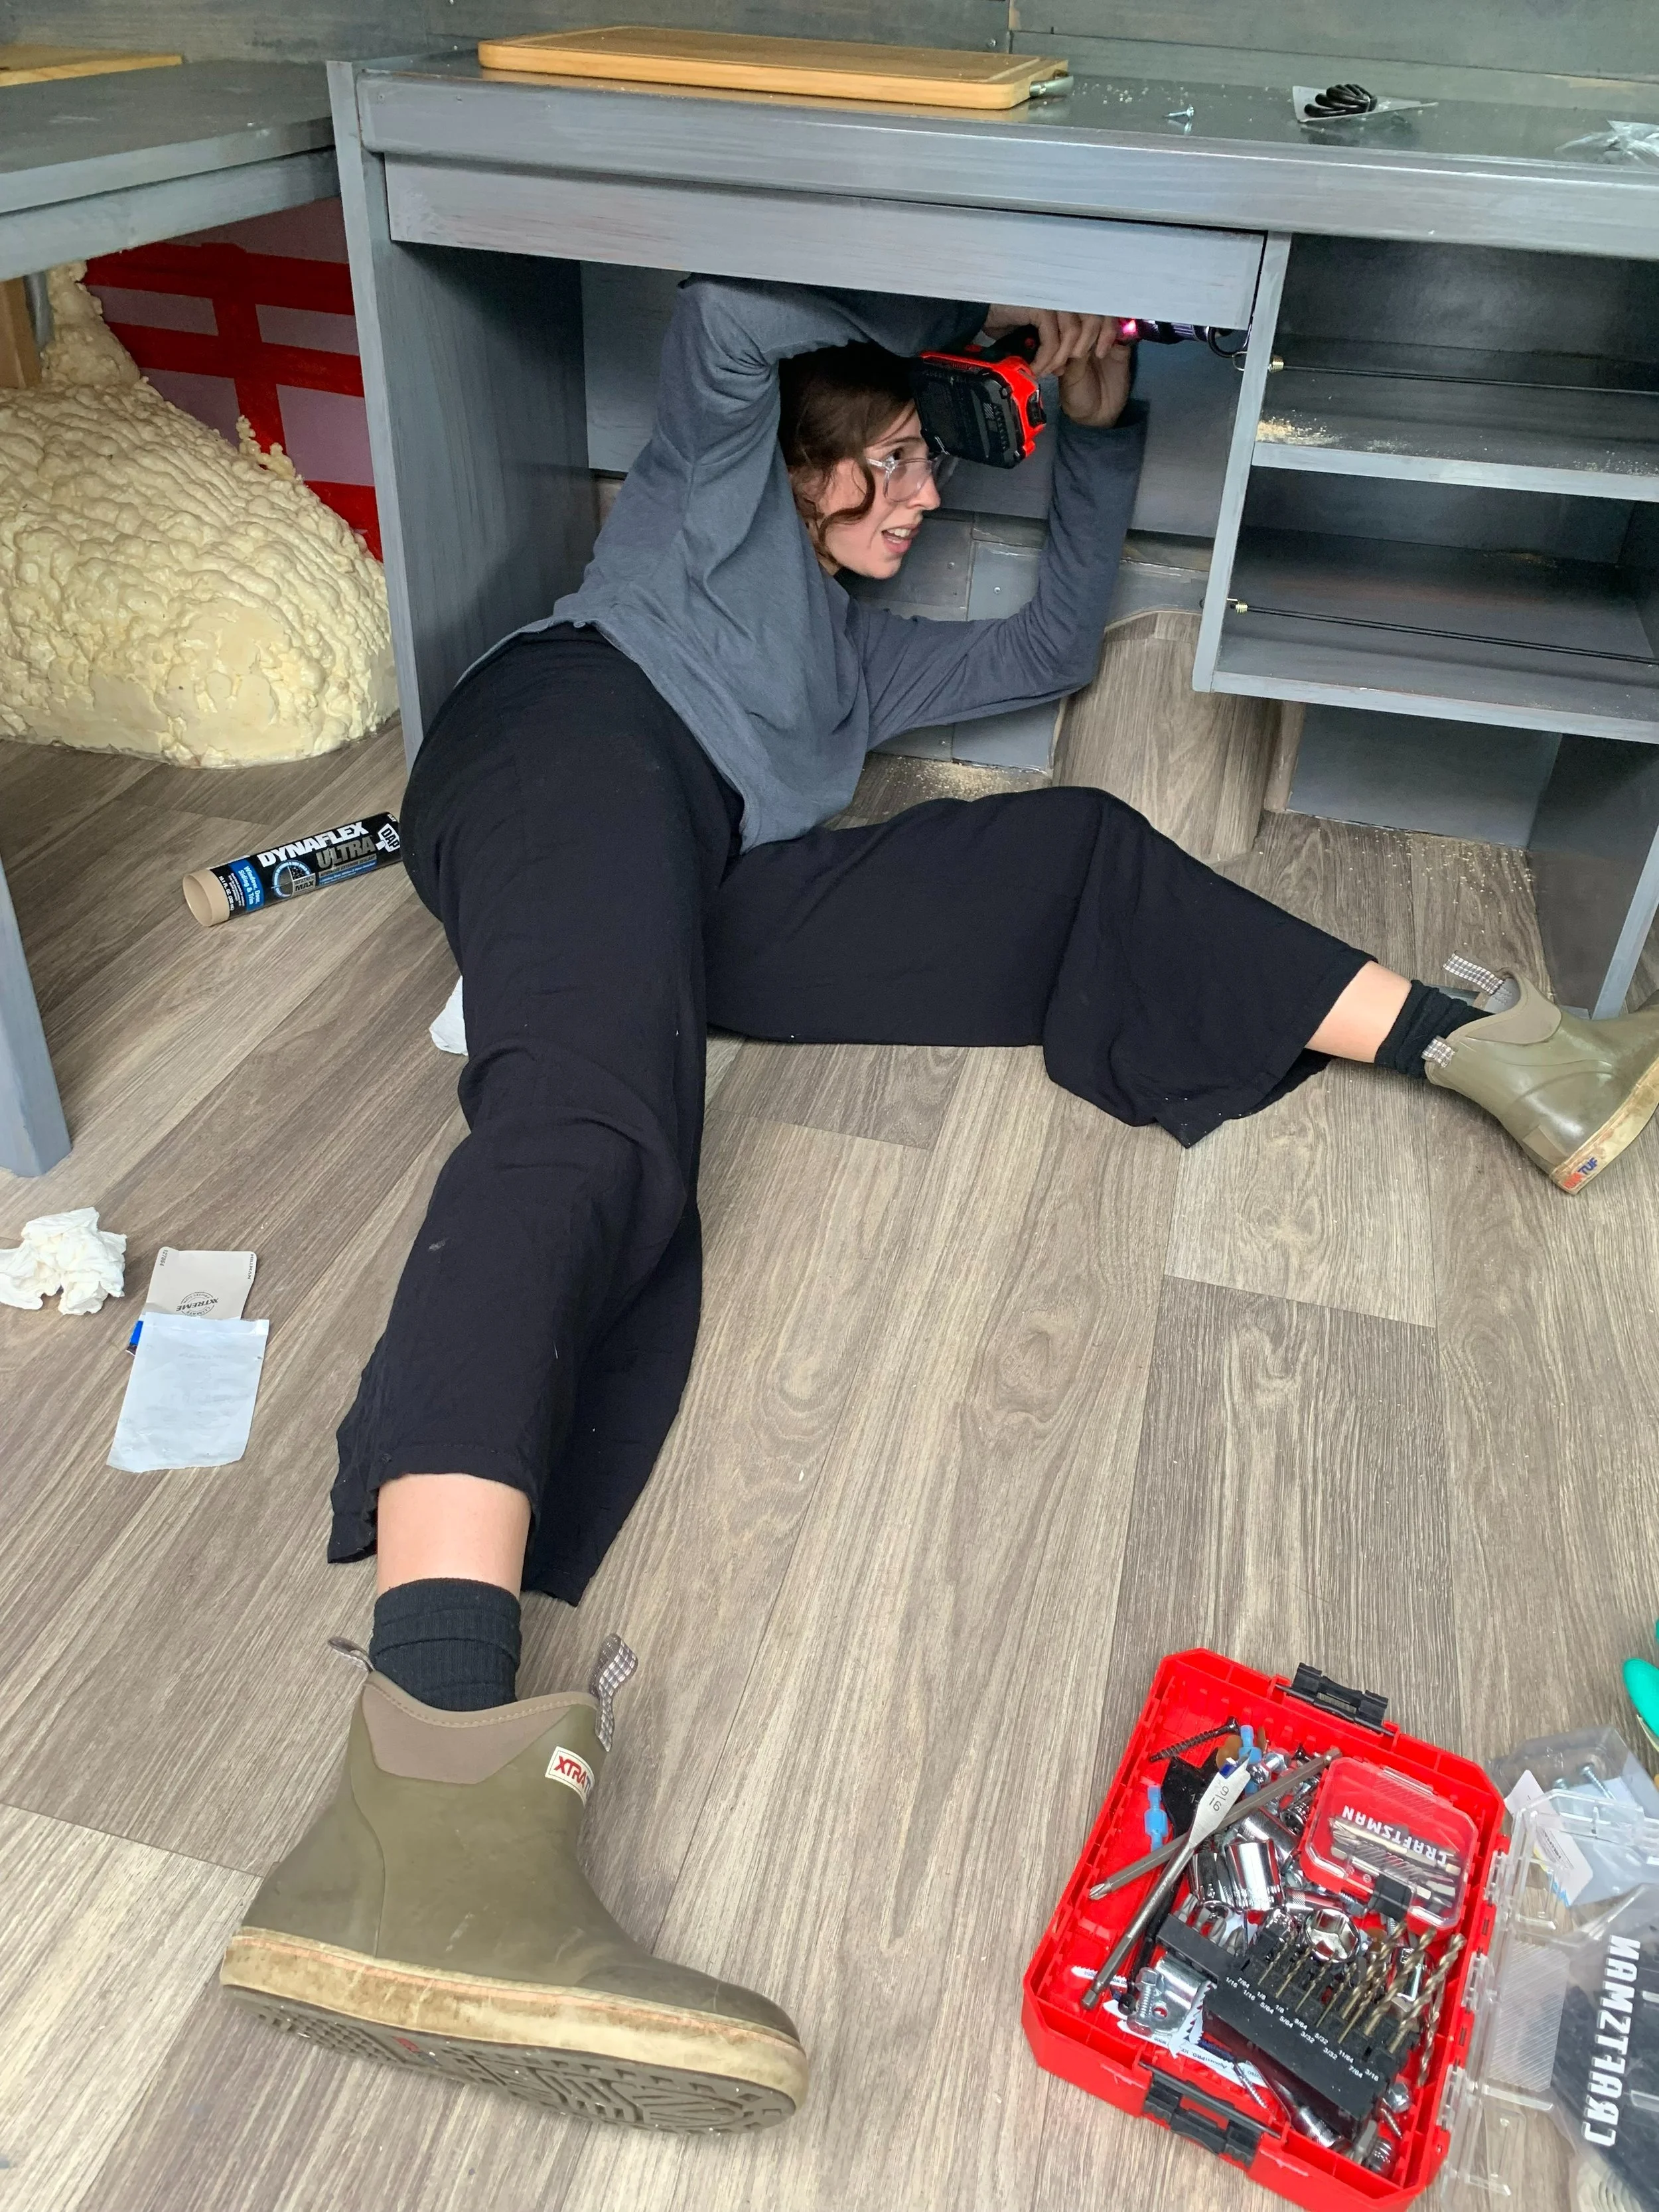
Kristal working hard to install our desk/kitchen set up.
1. Purchase van and materials
2. Gut inside and clean
3. Test drive road trip to identify issues
4. Conduct vehicle repairs
5. Optional upgrades (window tints, swivel seats, etc)
6. Plan layout and design
7. Cut 14”x14” hole in the ceiling and install the fan
8. Cut ⅜” wire hole in the ceiling and install solar
9. Use a sealant to make everything waterproof
10. Run electrical along the desired path to power bank
11. Install sound deadener and insulation
12. Cover walls with wood planking or desired material
13. Trace ceiling outline onto a template
14. Cut plywood or desired material and install on ceiling
15. Trace floor outline onto a template
16. Cut plywood or desired material and install on floor
17. Cut and install sheet vinyl flooring
18. Build bed frame and/or desired furniture
19. Build clean water and greywater system
20. Customize (paint, stain, seal, etc.) and move in
The Power of the Internet
If any of the above steps confuse you, don’t worry! We watched YouTube tutorials for everything we did on the van and then some. This extends way past construction, too—if you want to learn anything, and I mean anything, there’s someone out there willing to teach you. The best part is you can learn everything on the go. Something like eight out of ten people in the world has a smartphone, meaning DIY activities have never been easier.
Note: you can’t trust everything you see on the internet, so exercise due diligence.
Essential Tutorials
Below are some of the most helpful tutorials we used during our build. Some offer a good starting point while others are incredibly thorough, so feel free to pick and choose what’s relevant to your build. Travel Viaterra is not responsible for the accuracy, legality, or content of external sites.
Solar install
Bowl sink
Installing fan
Insulating van
Sound deadener
Floor install
Bed platform
Water system
Budget
The budget for your build will vary by your needs, but the average for DIY converters is about $10,000-15,000 (including the cost of the vehicle). A van built of this cost won’t have top-of-the-line gadgets, but it’ll have the basics, like a bed frame, insulation, sink, etc. Unfortunately, going over or under this budget depends mostly on how many repairs your van needs. Below is a list of materials we used when building our camper!
Protip: you can save yourself a few headaches by paying for a pre-purchase inspection by a reputable mechanic.
Vehicle
Van
Finding a vehicle takes a bit of work, but is well worth the effort. If you’re on a budget, your ideal vehicle is an older cargo van with low miles and regular maintenance records. It all comes down to personal preference, but I’ve been told repeatedly that Chevrolet Express vans are highly durable and easy to work on. Make sure to check Facebook Marketplace and Craigslist for the best deals.
Repairs
Unfortunately, repairs are part of life when driving an older car. We took our van on a long road trip right after we bought it to see if any issues emerged—both our front bearings needed to be replaced which cost about $600. It felt much better to find out earlier rather than later.

Our 2000 Chevrolet Express van a few days before we left Alaska.
General
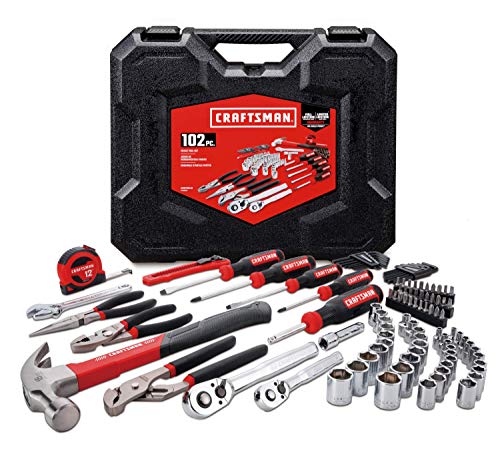
Tools
During and after your build you’ll need a good set of tools. We bought a smaller set only to go back and buy everything the larger set had. Save yourself the trouble and get the tools you’ll need from the beginning (it’s cheaper than buying everything individually).
Drill
A drill is by far the most important power tool you’ll need during your van build. It’s the only power tool we took on the road (besides an air compressor of course).
Adhesive
We used one roll of insulation tape and at least five bottles of heavy-duty construction adhesive. We used heaps of the construction adhesive to secure our subfloor (plywood) to the metal ribs of our van.
Sealant
We used three bottles of sealant to make sure we wouldn’t have any leaks in our ceiling and used the rest around the edges of our flooring to prevent anything we spilled from seeping into and rotting the subfloor.
Screws
There are tons of different types of screws in our van because each project required different lengths and sizes. The most helpful advice I can give is to drill pilot holes or buy self-drilling screws.

Protip: pilot holes make cracking less likely which will save you tons of repair work.
Electric
Fan
We are huge advocates of the Maxxair line of fans as they have a built-in rain cover and two metal arms. In other words, you can use them in inclement weather and while driving as they’re much sturdier than other brands. One of the mid-grade models will work fine. You’ll have to do the fan wiring yourself, so consider how you want it to connect to your battery (we used this 12V car outlet wiring)
Solar
Solar panels used to be prohibitively expensive, but now cost about $100 apiece depending on the specs. We bought a 100W panel from Renogy, some mounting z-brackets, and haven’t had any trouble. Our wiring enters through a ⅜” hole in our roof which is protected by this entry cover. If you want to extend your wiring, make sure to check whether your panel’s female and male connectors are positive or negative first.
Battery
The main lithium battery choices are Jackery and Goal Zero. The size is up to you and how much energy you need, but remember to look up the max charging input. For example, a 120W max input battery pairs nicely with a single 100W panel or two 50W panels. Verify whether your battery has an internal charge controller.
Miscellaneous
You’ll need some quality electrical tape and zip tie connectors to secure your wiring to the ceiling. We found vehicle-specific zip ties at a car parts store.

Our solar panel and fan combination is surprisingly stealthy—although the bike rack is a dead giveaway.
Walls & Ceiling
Sound deadener
We used two rolls of FatMat Self-Adhesive Rattletrap Sound Deadener throughout our van, and the difference is night and day. Before we could hear road noise, animals, and people outside, but now it's very quiet.
Insulation
Insulation is crucial for keeping your van’s temperature relatively consistent. You want to use a closed-cell material that doesn’t absorb water as it will be exposed to moisture over time. We used one-inch-thick sheets of XPS throughout our van. The ceiling is the most important place to insulate, followed by the walls, and then the floor (some people choose not to insulate the floor at all!).
Lighting
As we’re not electricians, we opted to skip complicated lighting and bought some battery-powered LED puck lights. They’re super helpful as you can turn them on individually as needed.
Lumber
We used half-inch thick wooden slats for our walls, and half-inch thick plywood for our floor and ceiling. The lighter your build, the better your MPG!
Sheet vinyl
We found an inexpensive roll perfect for the size of our camper. Cutting out a custom shape using a template is much easier than installing hundreds of slats like traditional flooring.

Messy mid-build picture showing insulation, sound deadener, and loose wires.
Finished product showing covered walls, plant holders, and bed frame.
Furniture
Bed frame
We used nine two-by-four wood pieces, evenly spaced in a square pattern, as the legs to our bed frame. On top, we spaced out half-inch thick slats for proper ventilation. Check out this simple design.
Mattress
We originally bought a normal mattress, but it weighed too much and we found it hard to cut. Instead, we opted for this 5-inch thick foam mattress that cost about $100 and is twice as comfortable.
Desk
We found a used desk at a second-hand furniture store for less than $30. Underneath the desk is our kitchen storage and on top is our counter space. The desk is handy as it has premade shelves and a pull-out drawer for our utensils.
Cooking system
Our cooking system is a simple Coleman’s camping stove. It uses propane bottles that you can find at any outdoor recreation store. We also own a jetboil that is excellent for heating water quickly. The only downside to cooking with fire is the byproduct of carbon monoxide. Make sure to properly ventilate and install a carbon monoxide alarm.
Hygiene
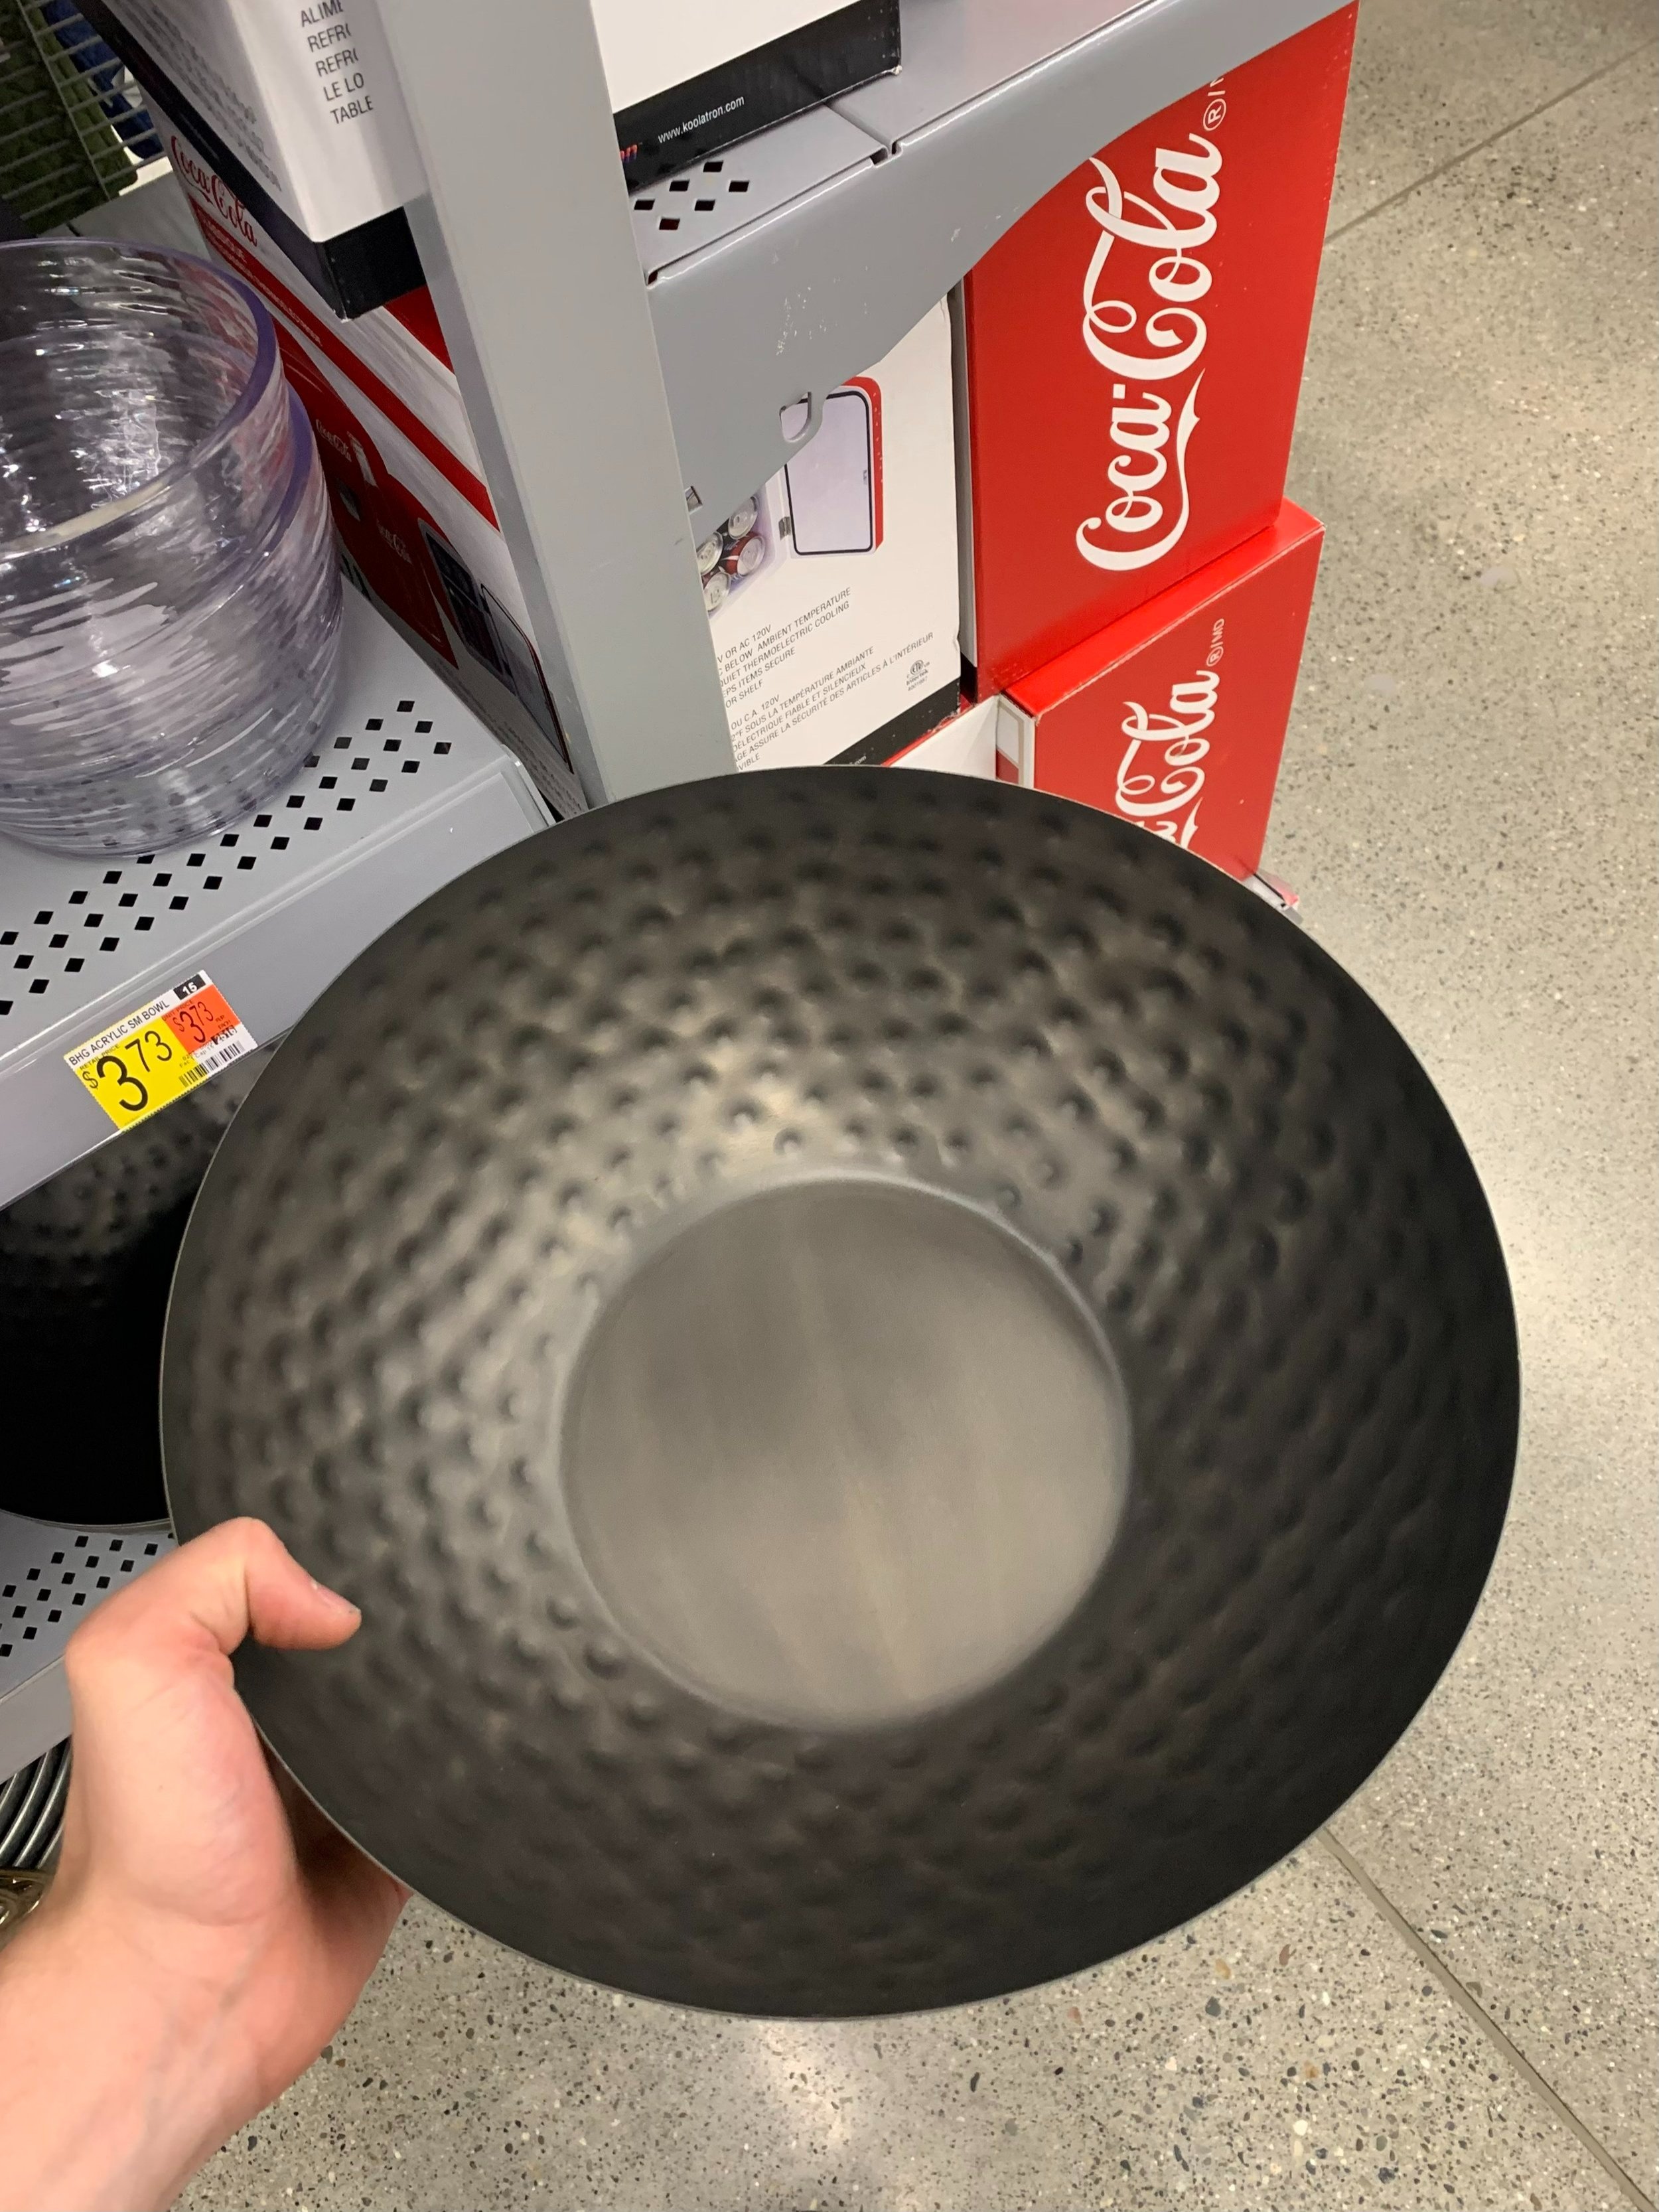
The sink we built is made out of an inexpensive salad bowl from Walmart.
Toilet
Depending on your budget and preference, it might make sense to invest in a portable toilet. We only use ours for liquids, as solids are a little harder and smellier to deal with.
Sink
Building a water system sounds scary and complex, but it can be fairly low-tech and straightforward. You’ll need a hole saw drill bit, plumbers putty, electric pump, food-grade tubing, two water jugs, a salad bowl, a drain, and plastic pipes. We bought a TV stand from a second-hand furniture store and engineered it to fit our needs.
Protip: use biodegradable soap like Dr. Bronners to be friendlier on the earth!
Doors
Magnet screens
We bought simple magnetic screens for our side and back doors and cut them to size. This way we can open our doors for ventilation without letting any pesky bugs in.
Window coverings
Trace the shape of your windows and cut out appropriate sections of Reflectix. Duct tape the seams and use velcro tape to attach the covering to the windows. You can spray-paint the side facing outwards black for added stealth.
Miscellaneous
Bike rack
A family member gifted us a unique bike rack that swivels out away from the van, allowing us to open the back doors with ease. Without this, we wouldn’t have been able to access the cargo area underneath our bed from the outside.
Swivel seats
Swiveling your seats around helps open up the little space you have and is a great quality of life upgrade if you can afford it. You simply buy a swivel plate and install it underneath the factory seats that came with your vehicle. I’d recommend at least getting one for the passenger seat.
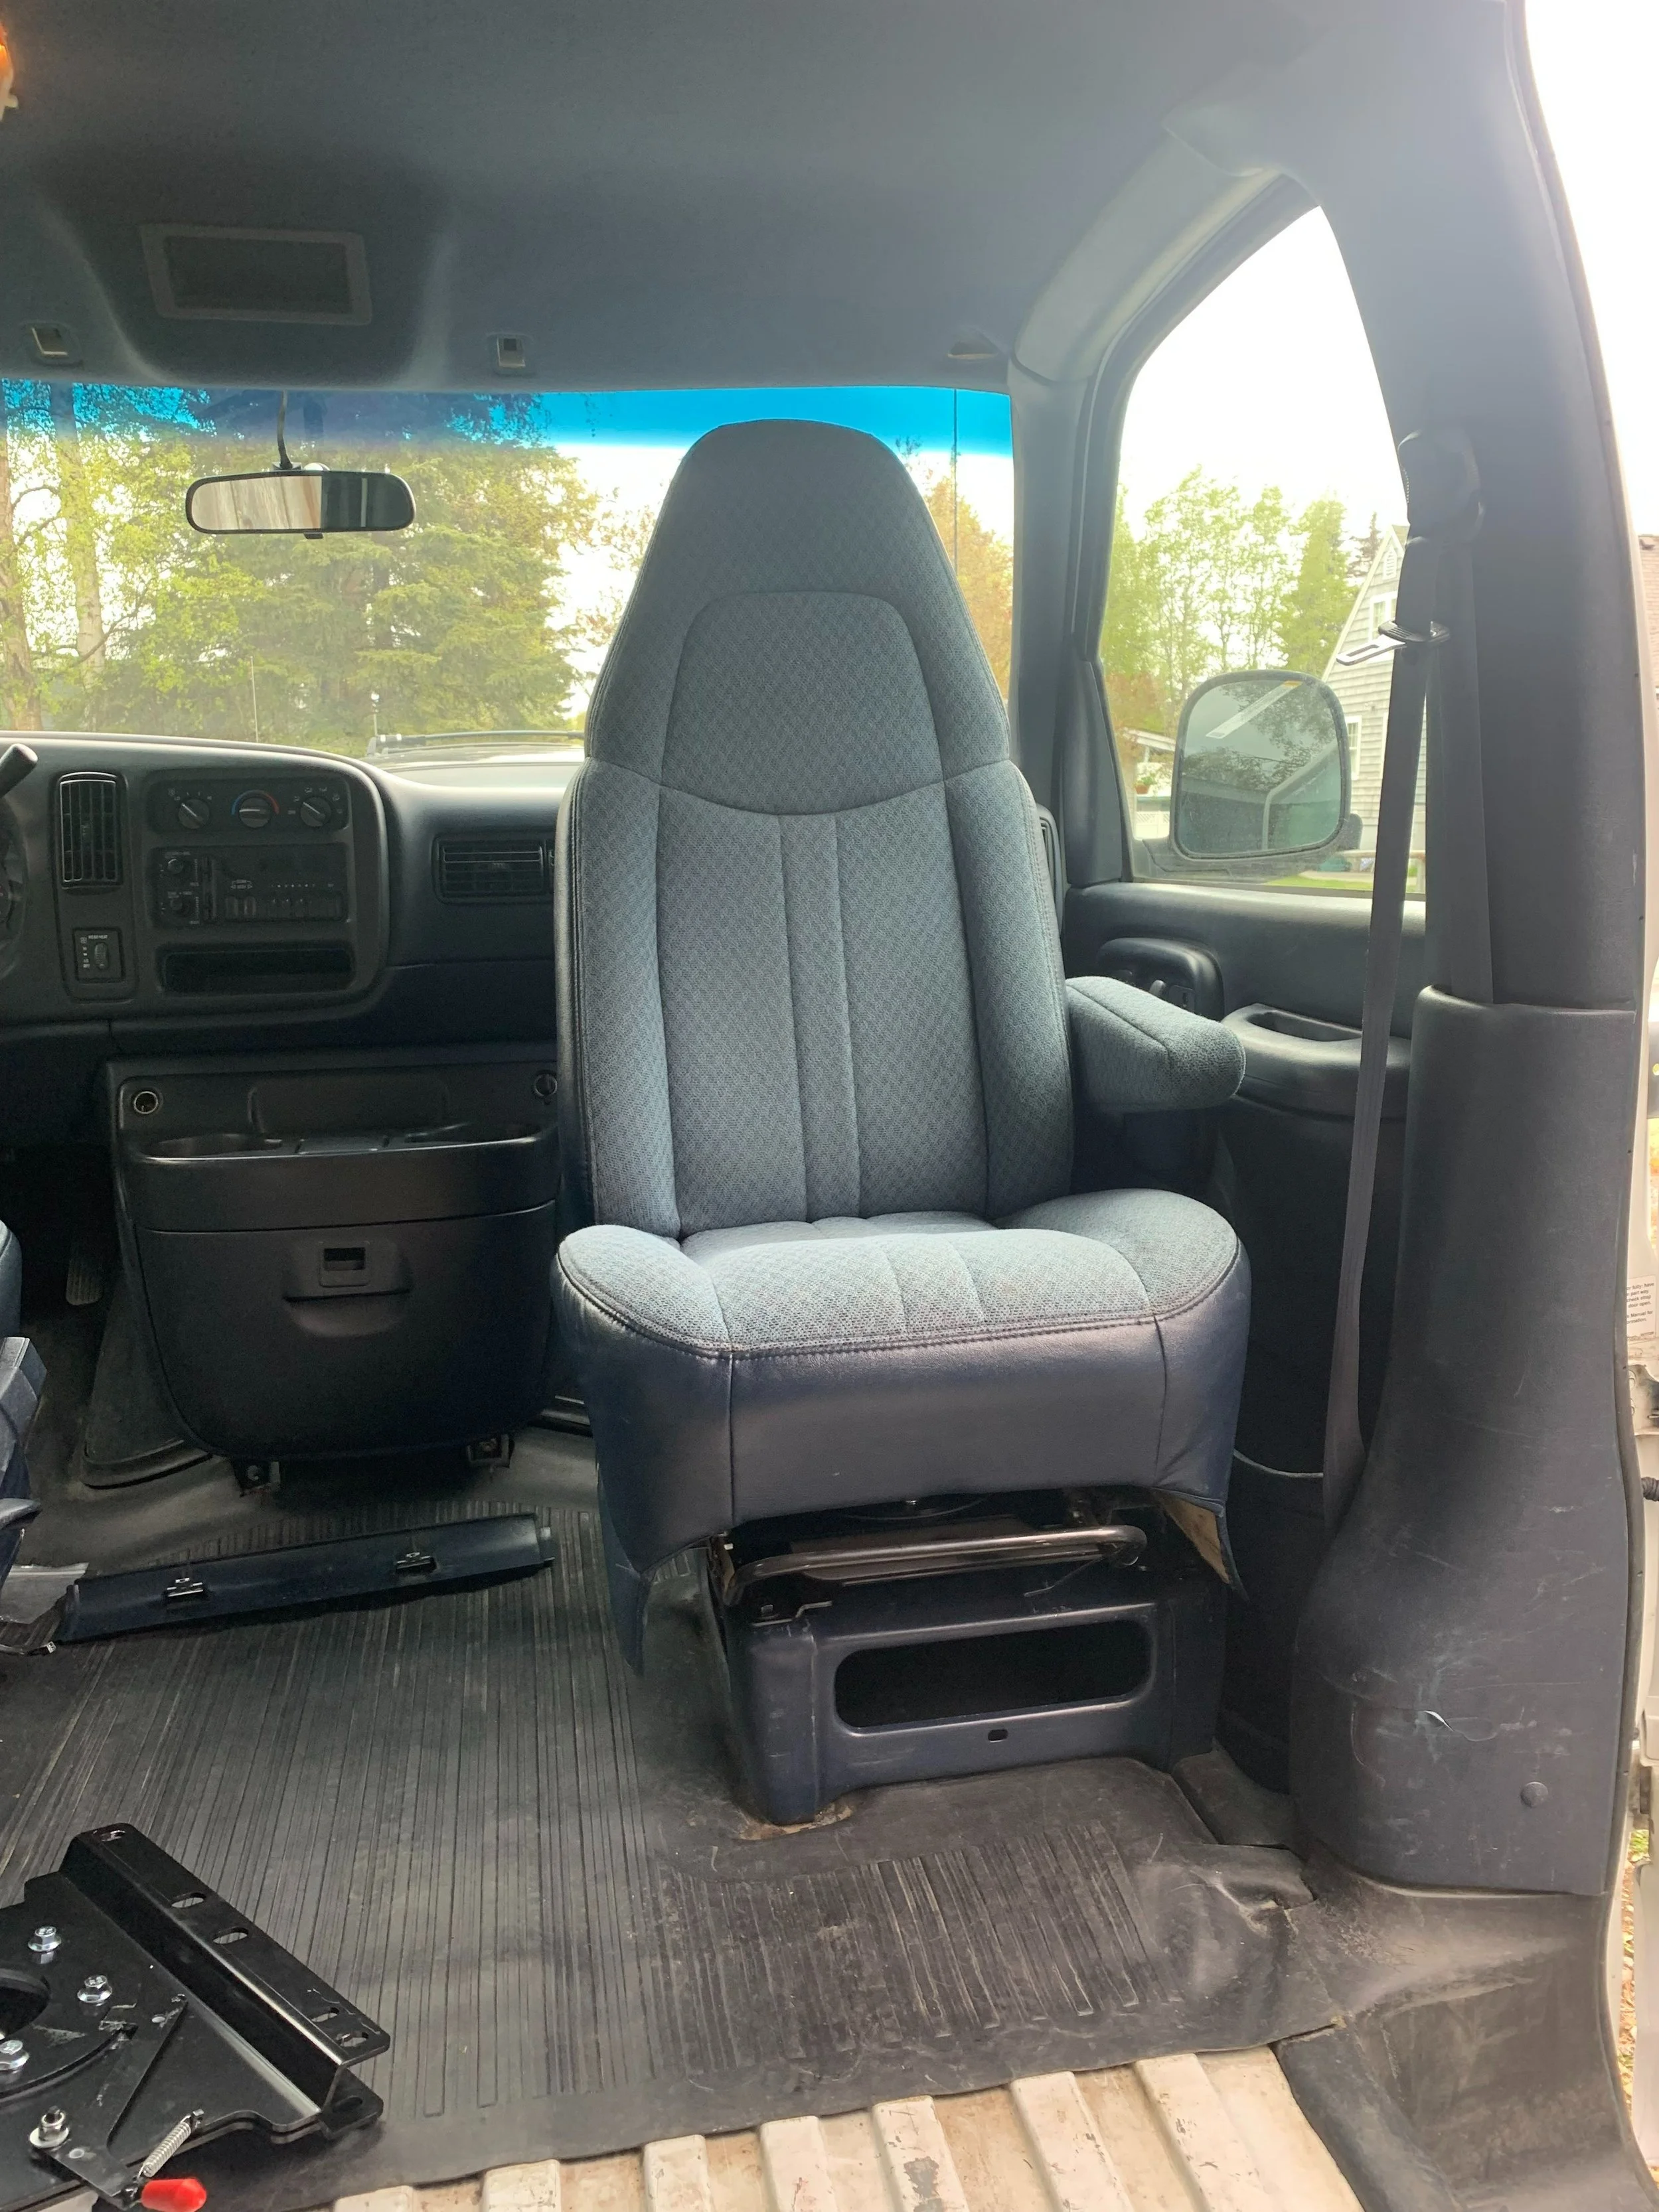
Our first swivel seat installation.
Final Thoughts
Building out a van is not easy, but it’s rewarding in so many ways. It’s important to think about wants vs. needs, aesthetics vs. functionality, and quality vs. price. Only you know what you should prioritize based on your personality and habits (cooking space, workspace, sleeping area, etc.). Be flexible, as your plans and build will inevitably have some differences. Lastly, if you’re building with a partner be prepared for disagreements and challenges.
Click below to continue to the next section!